If you’re a woodworker or DIY enthusiast, you may have considered the benefits of milling your own lumber. Milling your own lumber allows you to have complete control over the quality and quantity of your wood supply, as well as the ability to customize the size and shape of your boards to fit your specific project needs. However, the process of milling lumber can seem daunting, especially if you’re new to the craft.
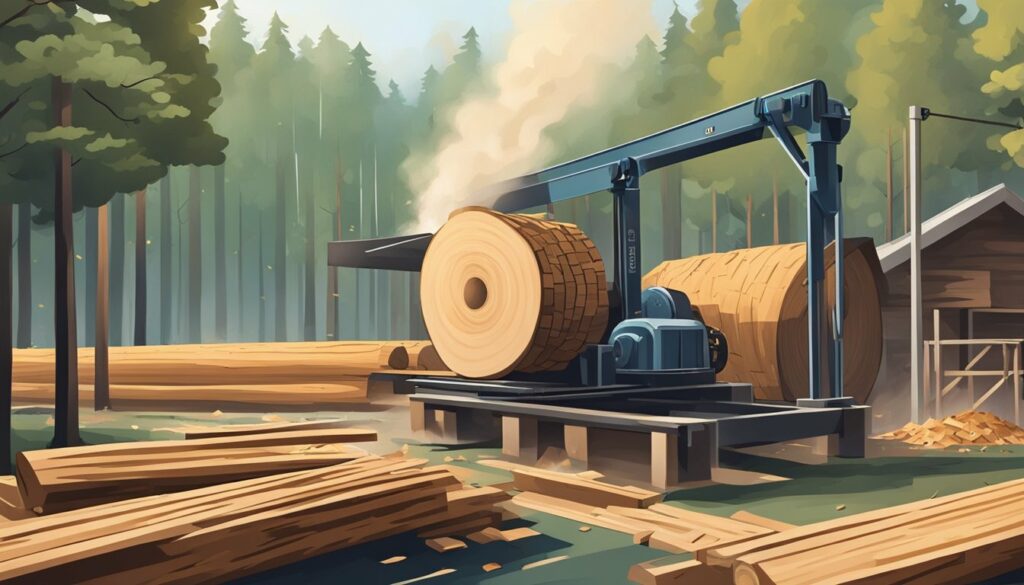
In this article, you’ll learn the basics of milling lumber, from understanding the different types of sawmills to selecting and preparing logs for milling. We’ll cover the best practices for milling techniques and operating different types of sawmills, as well as how to dry and finish your milled lumber. Additionally, we’ll provide tips for safety and maintenance, as well as advice for using milled lumber in your woodworking projects. With this information, you’ll be well on your way to milling your own lumber and taking your woodworking skills to the next level.
Key Takeaways
- Milling your own lumber allows you to have complete control over the quality and quantity of your wood supply.
- Understanding the different types of sawmills and selecting and preparing logs for milling are essential to the milling process.
- Best practices for milling techniques, safety and maintenance, and using milled lumber in projects will help you become a successful lumber miller.
Understanding the Basics of Milling Lumber
If you’re a woodworker, milling your own lumber can be a great way to save money and have more control over the quality of the wood you use. Milling lumber involves cutting logs into boards, planks, or other pieces of lumber. Here are some basics you should understand before you start milling your own lumber.
Types of Lumber and Their Uses
Different species of trees produce different types of lumber, each with unique properties that make them suitable for different uses. For example, oak is a dense, hard wood that is often used for furniture and flooring, while pine is a softer, more lightweight wood that is often used for framing and construction.
When milling your own lumber, it’s important to choose the right species of tree for your project. Consider the wood’s strength, durability, and appearance, as well as its cost and availability.
Essential Milling Terminology
Before you start milling your own lumber, it’s important to understand some basic terminology. Here are a few terms you should know:
- Log: A section of a tree that has been cut down and is ready to be milled.
- Board: A flat piece of lumber that has been cut from a log.
- Plank: A thicker, wider board that is often used for flooring or other applications where extra strength is needed.
- Grain: The pattern of fibers that runs through a piece of wood.
- Grain pattern: The way the grain of a piece of wood appears, which can affect its strength, durability, and appearance.
Understanding these terms will help you communicate more effectively with other woodworkers and ensure that you’re milling your lumber correctly.
Overall, milling your own lumber can be a rewarding and cost-effective way to obtain high-quality wood for your woodworking projects. By understanding the basics of lumber milling, you can ensure that you choose the right species of tree for your project and mill your lumber correctly, resulting in beautiful, durable pieces of furniture or other woodworking projects.
Setting Up Your Milling Area

When it comes to milling your own lumber, one of the most crucial steps is setting up your milling area. This will determine the quality of the lumber you produce, as well as the safety of your operation. In this section, we will cover the key factors to consider when setting up your milling area.
Choosing the Right Location
The first step in setting up your milling area is choosing the right location. You want to find a location that is safe, convenient, and suitable for your milling needs. Here are some key factors to consider:
- Property: Make sure you have the necessary property to set up your milling area. This includes enough space for your mill, as well as space for storing logs and lumber.
- Residential Areas: If you live in a residential area, you need to consider your neighbors. Milling can be noisy and dusty, so you want to choose a location that is far enough away from your neighbors to avoid disturbing them.
- Space: You need to have enough space to set up your mill and work comfortably. Make sure you have enough room for your mill, as well as space for handling logs and lumber.
- Base and Frame: Your mill needs to be set up on a sturdy base and frame. Make sure you choose a location that can support the weight of your mill and the logs you will be milling.
Equipment and Space Requirements
Once you have chosen the right location, you need to consider the equipment and space requirements for your milling area. Here are some key factors to consider:
- Mill: You need to choose the right mill for your needs. This will depend on the size of the logs you will be milling and the volume of lumber you will be producing.
- Space: Make sure you have enough space to move around your mill and handle logs and lumber. You also need to have enough space for storing logs and lumber.
- Safety: Safety is crucial when milling your own lumber. Make sure you have enough space to work safely and that your mill is set up in a safe location.
By considering these factors when setting up your milling area, you can ensure that you produce high-quality lumber safely and efficiently.
Selecting and Preparing Logs
Log Selection Criteria
Selecting the right logs is crucial for milling your own lumber. When choosing logs, consider the following criteria:
- Species: Different wood species have different properties, such as hardness, durability, and grain pattern. Choose a species that suits your intended use for the lumber.
- Diameter: Choose logs with a diameter that is appropriate for your sawmill. Larger logs can yield more lumber, but they can also be harder to handle.
- Straightness: Straight logs are easier to mill and yield lumber with fewer defects. Look for logs that are straight and free of major defects.
- Moisture content: Logs with a higher moisture content will be heavier and harder to handle. They will also require more time to dry before they can be milled.
Preparing Logs for Milling
Before you can mill your logs, you need to prepare them for the sawmill. Here are some steps to follow:
- Remove the bark: Use a debarking tool or a drawknife to remove the bark from the logs. This will help prevent damage to the saw blade and reduce the risk of introducing insects or fungi into your sawmill.
Cut the logs to length: Use a chainsaw to cut the logs to the desired length. Make sure the ends are square and free of defects.
Seal the ends: Apply a wax-based end sealer or paint to the ends of the logs to prevent checking and splitting. This will help preserve the quality of the lumber.
Check the moisture content: Use a moisture meter to check the moisture content of the logs. Logs with a high moisture content will need to be air-dried or kiln-dried before they can be milled.
By following these steps, you can ensure that your logs are prepared properly for milling and that you will be able to yield high-quality lumber.
Milling Techniques and Best Practices
Making the First Cut
Before making the first cut, it’s important to ensure that the log is stable and secure. Use wedges or a log clamp to prevent the log from rolling or shifting during the milling process. Begin by making a flat surface on one side of the log, known as the “face cut.” This will provide a stable base for the subsequent cuts.
Controlling Cuts and Angles
To achieve the desired lumber sizes, it’s important to control the depth and angle of each cut. Use a sawmill or a chainsaw with a milling attachment to make consistent cuts. When cutting, keep the blade perpendicular to the log to prevent taper. Adjust the blade angle as needed to achieve the desired lumber thickness and width.
Achieving Desired Lumber Sizes
To achieve the desired lumber sizes, it’s important to have a plan and stick to it. Measure and mark the log before making any cuts. Use a sawmill or a chainsaw with a milling attachment to make consistent cuts. Use a combination of face cuts, edge cuts, and slab cuts to achieve the desired lumber sizes. As you mill, sort the lumber by size and grade to make it easier to use and sell.
Remember to always prioritize safety when milling your own lumber. Wear protective gear such as earplugs, safety glasses, and a hard hat. Keep the work area clean and free of debris. And most importantly, never leave your saw unattended while it’s running.
By following these milling techniques and best practices, you can produce high-quality lumber for your next woodworking project.
Operating Different Types of Sawmills
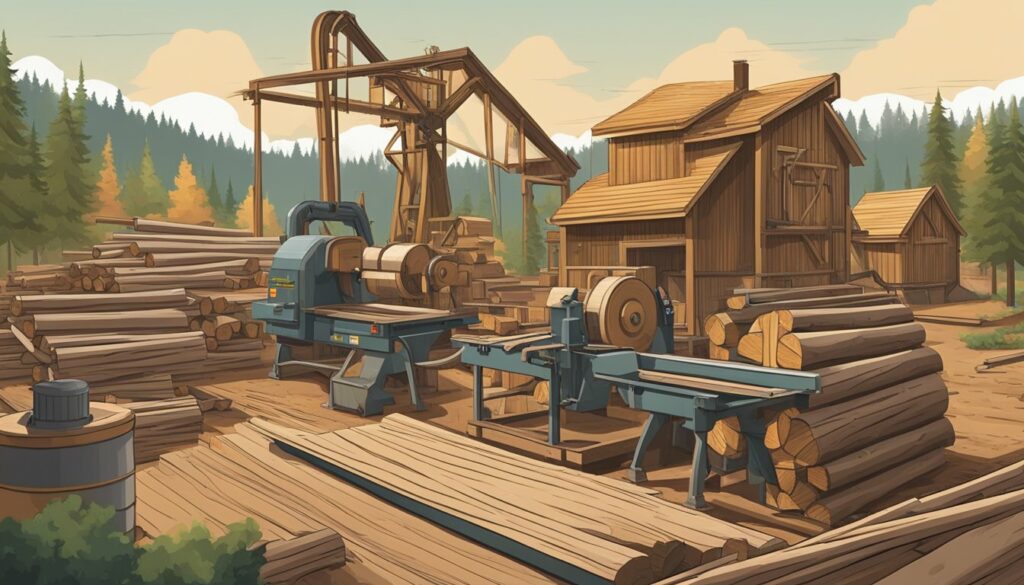
Using a Bandsaw Mill
Bandsaw mills are a popular choice for milling lumber due to their efficiency and accuracy. These mills use a thin, flexible blade that runs on two pulleys to cut through the wood. The blade is guided by bearings and can be adjusted to cut lumber of different thicknesses.
To operate a bandsaw mill, you will need to ensure that the blade is properly tensioned and sharpened. You will also need to adjust the blade guides and set the blade height to the appropriate level for the thickness of the lumber you are cutting.
Working with a Portable Sawmill
Portable sawmills are a great option for those who need to move their mill from one location to another. These mills are typically smaller and lighter than stationary mills, but they can still cut lumber of various sizes.
To operate a portable sawmill, you will need to ensure that the mill is properly set up and leveled. You will also need to adjust the blade height and blade guides to ensure that the lumber is cut to the proper thickness.
Chainsaw Milling Techniques
Chainsaw milling is a popular method for those who need to mill lumber in remote locations. This method involves using a chainsaw to cut the lumber directly from the log. It is important to note that chainsaw milling can be dangerous, and it is recommended that you have experience with chainsaws before attempting this method.
To operate a chainsaw mill, you will need to ensure that the chainsaw is properly maintained and sharpened. You will also need to ensure that the saw is securely attached to the guide rail and that the log is properly secured.
Regardless of the type of sawmill you choose, it is important to ensure that the sawmill blades are properly maintained and sharpened. You will also need to ensure that you have a reliable power supply to operate the mill. With the right knowledge and equipment, you can successfully mill your own lumber and enjoy the satisfaction of creating something with your own two hands.
Drying Milled Lumber
After milling your lumber, it is important to properly dry it before using it in any woodworking project. Drying your milled lumber will prevent warping, cracking, and other defects that can occur if the wood is not dried correctly. In this section, we will discuss the two main methods of drying lumber: air drying and kiln drying.
Air Drying vs. Kiln Drying
Air drying your lumber is the traditional method of drying wood, and it involves stacking the lumber in a dry, well-ventilated area and allowing it to dry naturally over time. This method can take several months to a year or more, depending on the thickness of the wood and the humidity levels in your area. Air drying is a cost-effective method of drying lumber, but it requires patience and careful monitoring of the moisture content of the wood.
Kiln drying, on the other hand, is a faster method of drying lumber that involves placing the wood in a chamber or kiln and using heat and air circulation to remove the moisture from the wood. Kiln drying can take as little as a few days to a few weeks, depending on the thickness of the wood and the type of kiln used. Kiln drying is more expensive than air drying, but it can produce lumber that is more uniform in moisture content and is ready to use sooner.
Setting Up a Drying Stack
If you choose to air dry your lumber, it is important to set up a proper drying stack to ensure that the wood dries evenly and does not become warped or twisted. Start by building a foundation of cinder blocks or other sturdy materials that will support the weight of the lumber. Then, stack the lumber with spacers between each board to allow for air circulation. The spacers can be made from scrap lumber or purchased from a woodworking supply store. Be sure to cover the top of the stack with a tarp or other waterproof material to protect the wood from rain and snow.
If you choose to kiln dry your lumber, you will need to use a specialized kiln that is designed for drying wood. Kilns can be purchased or rented, and they come in a variety of sizes and types. It is important to follow the manufacturer’s instructions for your specific kiln to ensure that the wood is dried properly and safely.
Monitoring Moisture During Drying
Regardless of which method you choose, it is important to monitor the moisture content of the wood during the drying process. This can be done using a moisture meter, which can be purchased from a woodworking supply store. The ideal moisture content for most woodworking projects is between 6% and 8%. If the moisture content is too high, the wood may warp or crack when it is used in a project. If the moisture content is too low, the wood may become brittle and difficult to work with.
In conclusion, properly drying your milled lumber is an important step in any woodworking project. Whether you choose to air dry or kiln dry your lumber, be sure to set up a proper drying stack and monitor the moisture content of the wood to ensure that it is ready to use in your next project.
Finishing and Planing Lumber
Using a Planer and Jointer
When it comes to milling your own lumber, using a planer and jointer can help you achieve precise and consistent results. A jointer is used to create a flat and straight edge on one side of the board, while a planer is used to create a consistent thickness and smooth surface on the other side.
To start, ensure that your jointer and planer are properly set up and calibrated. This includes checking the blade alignment, table height, and fence position. Once everything is set up, begin by jointing one edge of the board, making sure to keep it flat against the fence and table. Then, flip the board over and run it through the planer, taking small and consistent cuts until you reach your desired thickness.
It’s important to note that while a jointer and planer can help achieve precise cuts, they are not a substitute for proper sawing techniques. Always start with a clear and straight log and make accurate cuts with a saw before using the jointer and planer.
Achieving a Smooth Finish
After milling your lumber, achieving a smooth finish is essential for a professional look. Sanding can help remove any remaining roughness and create a uniform surface. Start with a coarse grit sandpaper and gradually work your way up to a finer grit. Be sure to sand with the grain of the wood to avoid scratches and swirls.
For an even smoother finish, consider using a hand plane or scraper. This can help remove any remaining imperfections and create a glass-like surface. Just be sure to keep the blade sharp and take light passes to avoid tear-out.
In summary, using a planer and jointer can help achieve precise and consistent cuts, but should not be a substitute for proper sawing techniques. Sanding and hand planing can help create a smooth and professional finish. With a little practice and patience, you can mill your own lumber with confidence and achieve great results.
Advanced Milling Techniques
Ripping and Crosscutting
Once you have mastered the basics of milling lumber, you can move on to more advanced techniques such as ripping and crosscutting. Ripping involves cutting a board lengthwise along its grain, while crosscutting involves cutting a board across its grain. These techniques are essential for creating custom sizes and shapes of lumber.
To rip a board, you will need a rip saw or a circular saw with a rip blade. Make sure the blade is sharp and properly aligned before starting. Use a straight edge as a guide to ensure a straight cut. For crosscutting, use a crosscut saw or a circular saw with a crosscut blade. Again, make sure the blade is sharp and properly aligned. Use a square to ensure a perpendicular cut.
Creating Custom Profiles
Craftsmen who want to add a personal touch to their projects can create custom profiles by milling their own lumber. This technique allows for endless creativity and customization.
To create a custom profile, start by sketching out the desired shape on the board. Use a band saw or a jigsaw to cut out the shape. Then, use a router with a profile bit to shape the edges of the board. Be sure to use a guide to keep the router steady and to ensure a consistent shape.
Another way to create a custom profile is to use a molding head cutter on a jointer or a planer. This allows for more intricate shapes and designs. Be sure to use a push block to keep your fingers safe.
Milling your own lumber gives you the freedom to create unique and custom pieces for your projects. With these advanced techniques, you can take your craftsmanship to the next level.
Safety and Maintenance
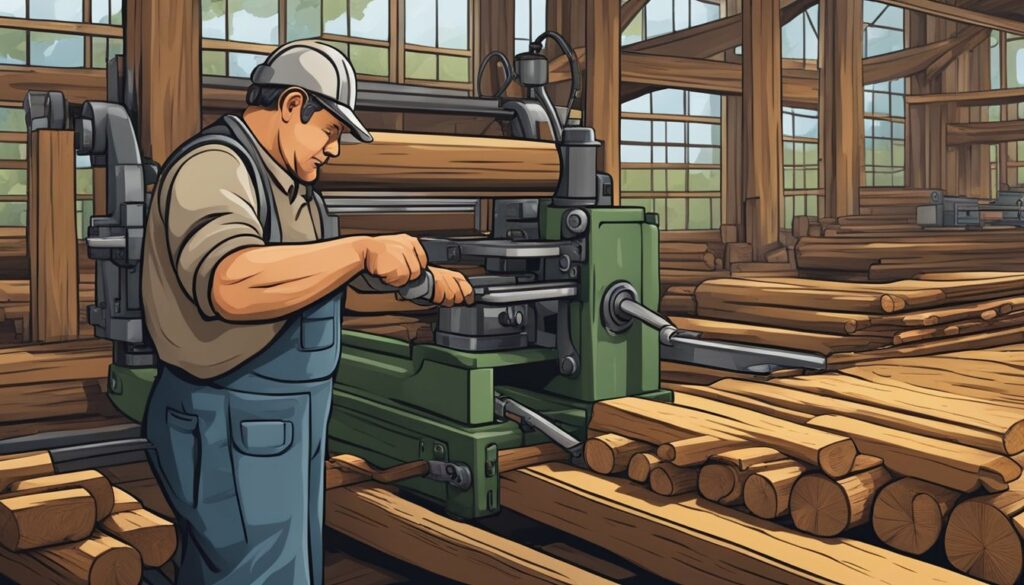
Personal Safety Equipment
When milling your own lumber, it is important to prioritize your safety. Always wear the appropriate personal protective equipment (PPE) to prevent accidents. Here are some essential PPE items you should have:
- Eye protection: Wear safety glasses or goggles to protect your eyes from flying debris.
- Hearing protection: Use earplugs or earmuffs to protect your hearing from the loud noise produced by the sawmill.
- Respiratory protection: Wear a dust mask or respirator to prevent inhaling sawdust and other airborne particles.
- Gloves: Use gloves to protect your hands from the sharp saw blade and other hazards.
Make sure to inspect your PPE before each use to ensure that they are in good condition and will provide adequate protection. Replace any damaged or worn-out items immediately.
Maintaining Your Milling Equipment
Proper maintenance of your sawmill and saw blade is crucial to ensure their longevity and efficiency. Here are some maintenance tips you should follow:
- Keep your sawmill clean: Regularly clean your sawmill to remove sawdust and other debris. This will prevent buildup that can cause damage to the equipment.
- Lubricate moving parts: Use the appropriate lubricant to keep the moving parts of your sawmill running smoothly.
- Sharpen your saw blade: A dull saw blade can cause rough cuts and damage to the lumber. Sharpen your saw blade regularly to ensure that it is cutting smoothly.
- Check for damage: Inspect your saw blade for any signs of damage, such as missing or broken teeth. Replace any damaged blades immediately.
By following these maintenance tips, you can ensure that your sawmill and saw blade are in good condition and will provide you with quality lumber for years to come.
Using Milled Lumber in Projects
When it comes to using milled lumber in your projects, there are a few things to consider. You want to make sure you select the right lumber for the job, and that you understand how to work with milled lumber properly. In this section, we’ll cover some tips and tricks for using milled lumber in your building, woodworking, DIY projects, craftsman, and creativity.
Selecting Lumber for Different Projects
The first step in using milled lumber in your projects is selecting the right lumber for the job. Different projects require different types of lumber with different characteristics. Here are some things to consider when selecting lumber:
- Species: The species of the lumber will affect its strength, durability, and appearance. Some species are better suited for certain projects than others. For example, cedar is a good choice for outdoor projects because it is naturally resistant to decay and insects.
- Grade: The grade of the lumber will determine its quality and appearance. Higher grades are more expensive but have fewer defects and a better appearance.
- Size and thickness: The size and thickness of the lumber will depend on the requirements of your project. Make sure you select lumber that is the right size and thickness for your project.
Woodworking and Crafting with Milled Lumber
Once you have selected the right lumber for your project, it’s time to start working with it. Here are some tips for woodworking and crafting with milled lumber:
- Prepare the lumber: Before you start working with the lumber, make sure it is properly prepared. This may involve planing, sanding, or cutting the lumber to size.
- Use the right tools: Make sure you have the right tools for the job. This may include saws, drills, chisels, and other woodworking tools.
- Follow safety guidelines: Always follow safety guidelines when working with milled lumber. Wear safety glasses, ear protection, and other safety gear as needed.
- Experiment with finishes: Milled lumber can be finished in a variety of ways to enhance its appearance and protect it from the elements. Experiment with different finishes to achieve the look and protection you want.
By following these tips and tricks, you can use milled lumber in your building, woodworking, DIY projects, craftsman, and creativity with confidence and knowledge.
Sourcing and Sustainability
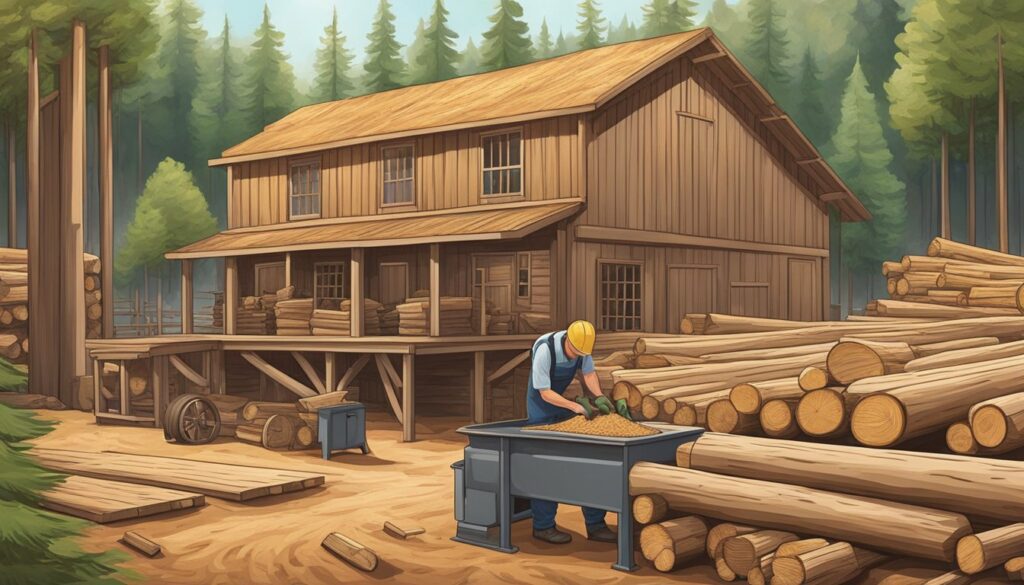
When it comes to milling your own lumber, it’s important to consider the sustainability of your sources. Here are some tips to help you find sustainable lumber sources and contribute to local ecosystems.
Finding Sustainable Lumber Sources
One way to ensure the sustainability of your lumber sources is to look for certified sustainable options. The Forest Stewardship Council (FSC) and the Sustainable Forestry Initiative (SFI) are two organizations that certify sustainable forestry practices. You can also look for local sawmills or tree services that use sustainable practices and source their lumber from local forests.
Another option is to salvage lumber from old buildings or other structures. This not only provides a sustainable source of lumber but also helps to preserve historic structures and reduce waste.
Contributing to Local Ecosystems
In addition to finding sustainable lumber sources, you can also contribute to local ecosystems by planting trees and supporting reforestation efforts. This helps to ensure a continued supply of lumber and promotes healthy forests.
You can also consider using wood that is harvested using agroforestry practices, which involve growing trees in combination with other crops or livestock. This can help to support local communities and promote sustainable land use.
By considering the sustainability of your lumber sources and supporting local ecosystems, you can help to ensure a continued supply of high-quality lumber for your milling projects.
Turning Milling into a Business
If you have a passion for woodworking and have been milling your own lumber, you may have considered turning your hobby into a business. While it can be a rewarding venture, there are several factors to consider before taking the leap. In this section, we will discuss some important aspects of turning milling into a business.
Marketing Your Milled Lumber
One of the key factors in running a successful lumber milling business is effective marketing. You need to find customers who are interested in buying your lumber. Here are some tips to help you market your milled lumber:
- Establish a brand: Create a unique brand name and logo that will help you stand out from the competition.
- Build a website: A website is essential for any business today. It will help you showcase your products and services and make it easier for potential customers to find you.
- Use social media: Social media platforms like Facebook, Instagram, and Twitter can help you reach a wider audience. Share photos of your products, post updates about your business, and engage with your followers.
- Attend trade shows: Trade shows are a great way to network with other professionals in the industry and showcase your products to potential customers.
Navigating Legal and Regulatory Aspects
Starting a lumber milling business involves navigating various legal and regulatory requirements. Here are some important aspects to consider:
- Business registration: You will need to register your business with the appropriate government agencies. This will ensure that you are operating legally and can protect your business in case of any legal issues.
- Zoning and permits: Check with your local zoning board to ensure that you are allowed to operate a milling business in your area. You may also need to obtain permits and licenses to operate your business.
- Environmental regulations: Lumber milling can have an impact on the environment, so it is important to comply with all relevant environmental regulations. This may include obtaining permits for water usage and waste disposal.
- Safety regulations: Operating a lumber milling business can be dangerous, so it is important to comply with all relevant safety regulations. This may include providing safety equipment for your employees and ensuring that your equipment is properly maintained.
In conclusion, turning milling into a business can be a challenging but rewarding venture. By effectively marketing your milled lumber and navigating the legal and regulatory aspects of the industry, you can create a successful and affordable lumber business.
Frequently Asked Questions
What equipment is necessary to mill lumber from logs at home?
To mill lumber from logs at home, you will need a few key pieces of equipment. The most important tool is a sawmill, which can be either a chainsaw mill attachment or a dedicated sawmill. Additionally, you will need a chainsaw, a log peeler, a cant hook, and a chainsaw file. You may also want to invest in a moisture meter to ensure that your lumber is properly dried before use.
What are the steps to mill a log into lumber by hand?
Milling lumber by hand requires a bit more effort, but it is still possible to achieve good results with a few basic tools. The first step is to debark the log using a drawknife or a spud. Next, you will need to use a saw to cut the log into planks or boards. Finally, you will need to use a hand plane or a belt sander to smooth out the rough surfaces of the lumber.
How long should logs dry before being milled into lumber?
The length of time that logs should dry before being milled into lumber depends on a number of factors, including the species of wood, the thickness of the lumber, and the climate in which the logs are being dried. In general, logs should be allowed to air dry for at least six months to a year before being milled into lumber. However, it is important to use a moisture meter to ensure that the lumber has reached an appropriate moisture content before use.
Can you explain the process of milling lumber with a chainsaw mill attachment?
Milling lumber with a chainsaw mill attachment is a relatively simple process. First, the log is secured to a sawhorse or other support. Then, the chainsaw mill attachment is mounted to the chainsaw and the saw is used to make a series of cuts along the length of the log. The resulting planks or boards can then be smoothed and finished using a hand plane or a belt sander.
What are the cost benefits of milling your own lumber versus purchasing pre-milled wood?
Milling your own lumber can be a cost-effective way to obtain high-quality wood for your projects. By cutting out the middleman, you can save money on the cost of lumber and reduce your overall project costs. Additionally, milling your own lumber allows you to select the exact species, thickness, and grain pattern that you need for your project.
What safety precautions should be taken when milling lumber for the first time?
Milling lumber can be a dangerous activity, so it is important to take all necessary safety precautions. Always wear appropriate protective gear, including eye and ear protection, gloves, and a dust mask. Make sure that your saw and other equipment are properly maintained and in good working order. Finally, be sure to read and follow all manufacturer’s instructions and safety guidelines.

